Creating openvpnserver and connect with local
Setting Up OpenVPN on 🇦 🇼 🇸 📡🏰
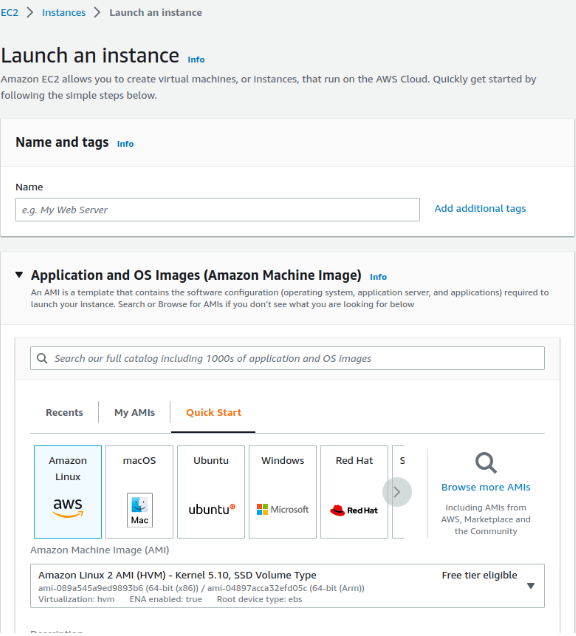
Step 1: Launch an EC2 Instance 🖥️🖥
-
Open the AWS Console.
-
Navigate to the EC2 service and click “Launch an Instance.”

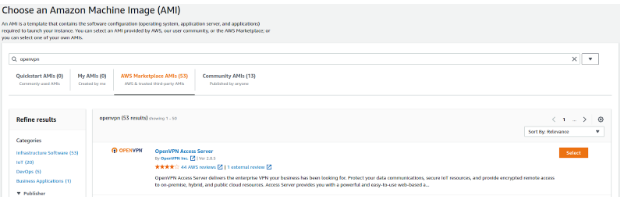
Step 2: Select an OpenVPN AMI 🖥️🖥🪞
-
In the “Browse for AMIs” section, search for “OpenVPN.”
-
Choose an OpenVPN Amazon Machine Image (AMI) from the AWS Marketplace.
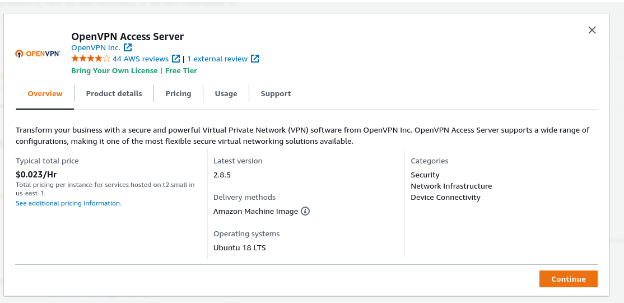
Step 3: Choose the First AMI 👈
- Select the first available OpenVPN AMI. Click “Continue.”
Step 4: Instance Configuration
-
Configure your EC2 instance settings as needed.
-
Create or select an Elastic IP for your instance.
This is essential for a stable connection.
Step 5: SSH into the Server 🖥️
- SSH into the newly created EC2 instance following the instructions provided in the screenshot.
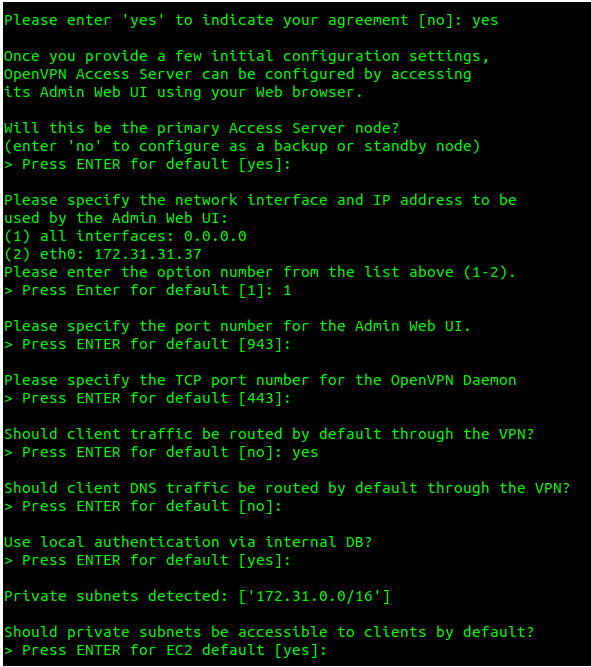
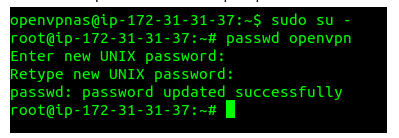
Step 6: Set Password for User ‘openvpn’ 🔐⛓🖇
- After connecting to the server, set a password for the ‘openvpn’ user as per the screenshot’s instructions.
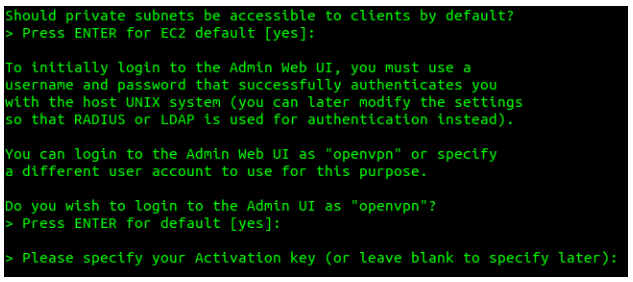
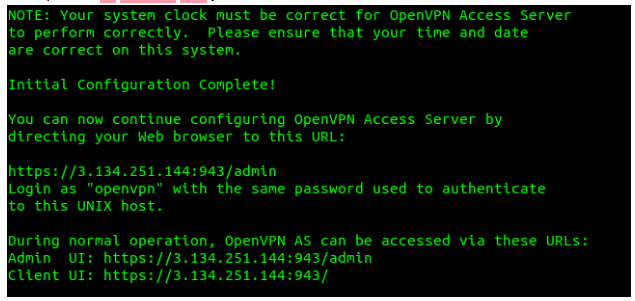
Step 7: Access the OpenVPN Admin UI
-
Open the URL provided in the last step.
-
Access the Admin User Interface.
-
Enter your username and password when prompted.
-
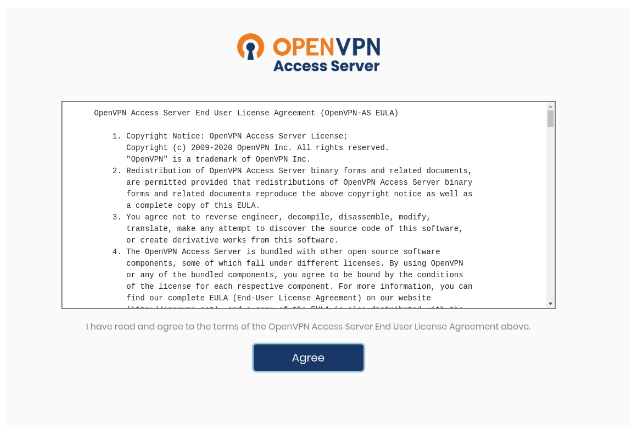
Accept the terms and conditions.
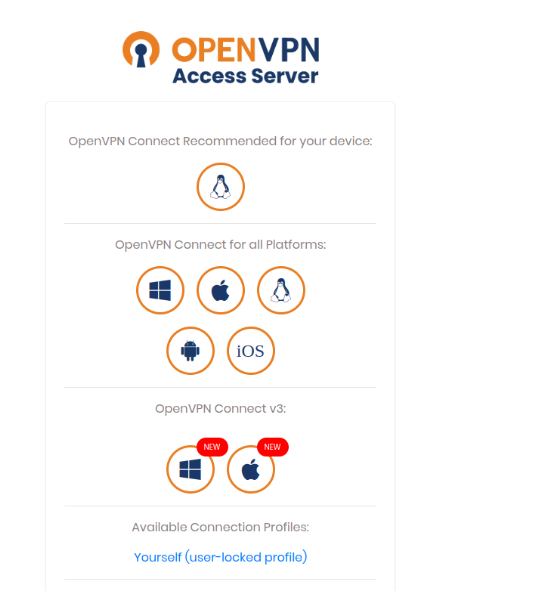
Step 8: Establish a VPN Connection
-
Open your web browser and navigate to the provided URL (e.g., https://5.137.451.944/).
-
You’ll be redirected to a login page.
-
Select your user-locked profile.
Step 9: 📥 Download the Configuration File
- Download the VPN configuration file to your local system.
- After downloading, rename the file to
'user1.ovpn.'
Step 10: Connect to the VPN
-
Go to your local system and open the terminal.
-
Run the following command to establish the VPN connection:
`sudo openvpn --config /home/yahya/Downloads/yahyavpn1.ovpn` -
Provide your username and password when prompted.
Step 11: Verify 🔵✔️ the Connection 🎯
-
Your IP address should now be changed and static, indicating a successful VPN connection.
-
By following these steps, you can set up OpenVPN on an AWS EC2 instance and ensure secure and private internet access.